Docs · Start here
Getting started
Welcome to fastCMS. In about half an hour you can go from an empty site to a planned blog whose articles are being written for you. The Get started checklist on your dashboard ticks each step off as you do it.
1. Connect an AI provider
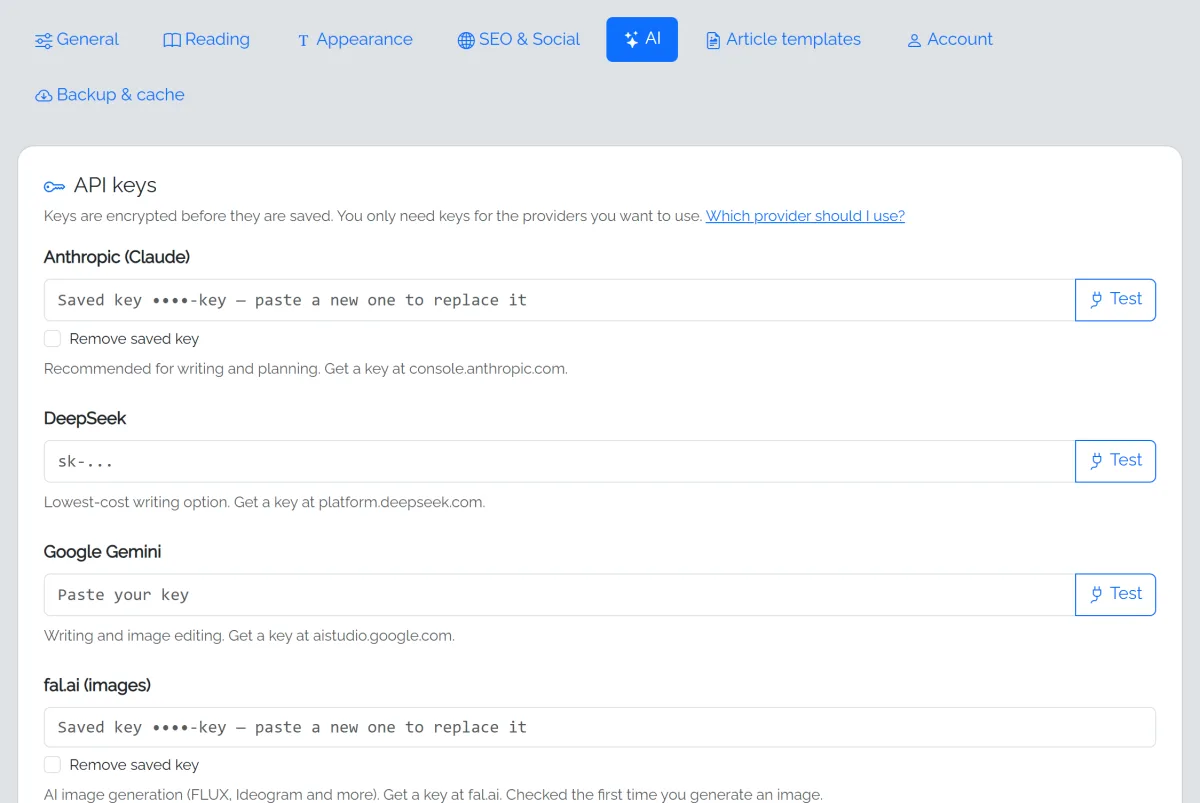
fastCMS uses AI to plan, write, edit and illustrate. Go to Settings → AI and paste an API key. Anthropic (Claude) gives the best writing; Google Gemini and DeepSeek are cheaper. See AI providers, models and costs.
New sites start with a $10 monthly AI budget, so nothing can run up a surprise bill. Raise it when you're ready.
2. Add your details
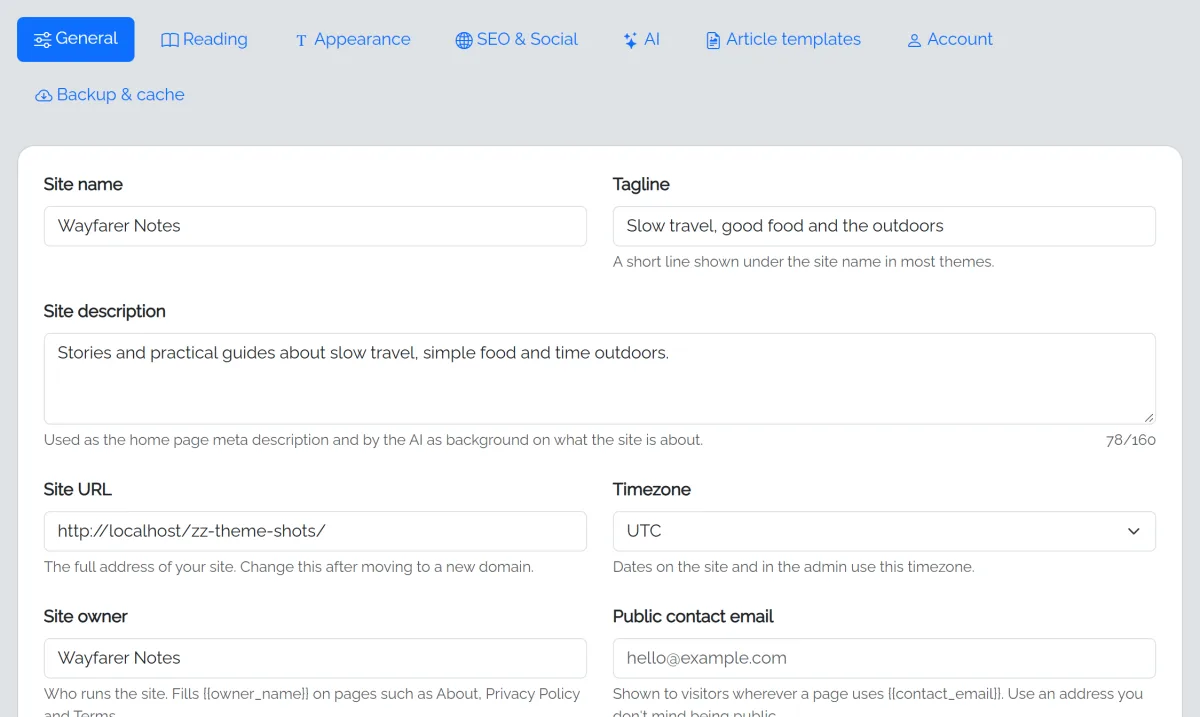
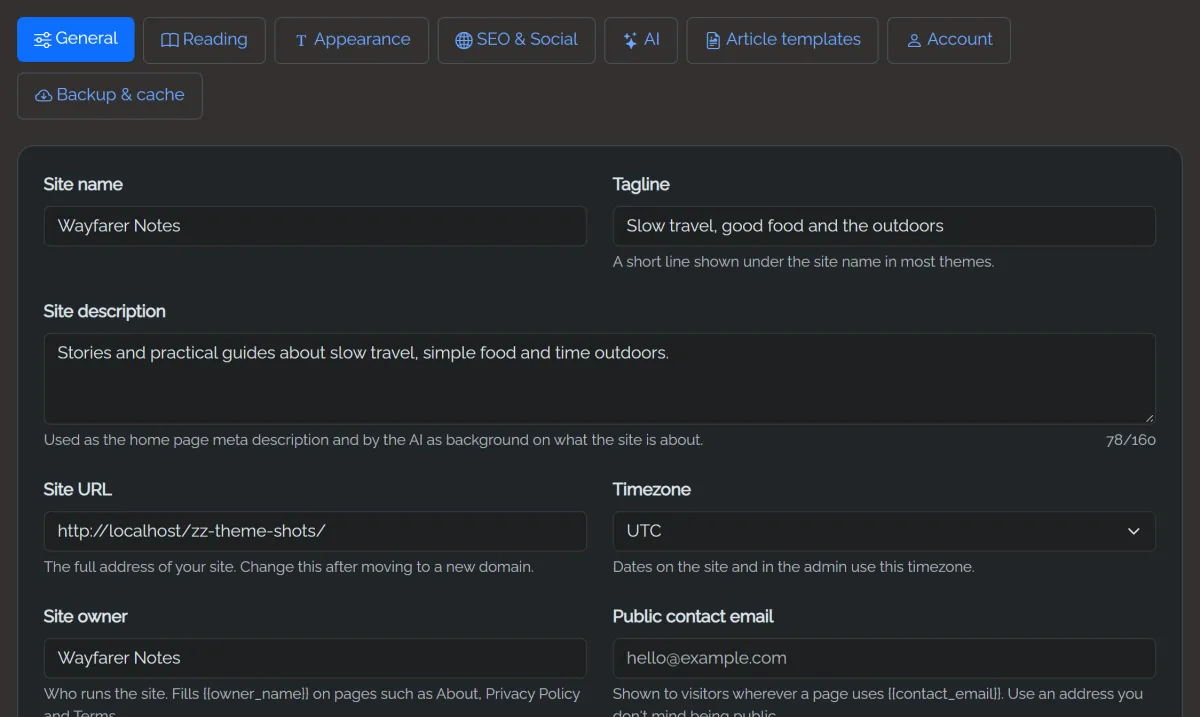
In Settings → General, add the site owner (your name or company), a public contact email and your country. The About, Contact and legal pages fill these in automatically.
3. Choose a look
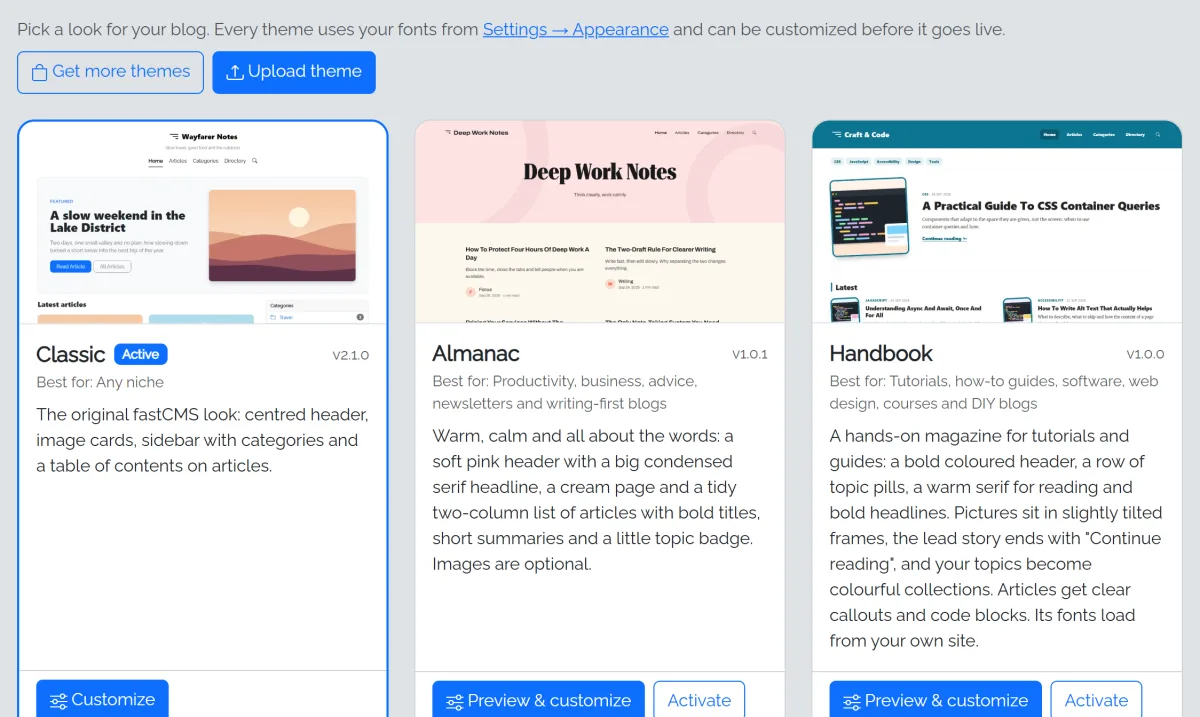
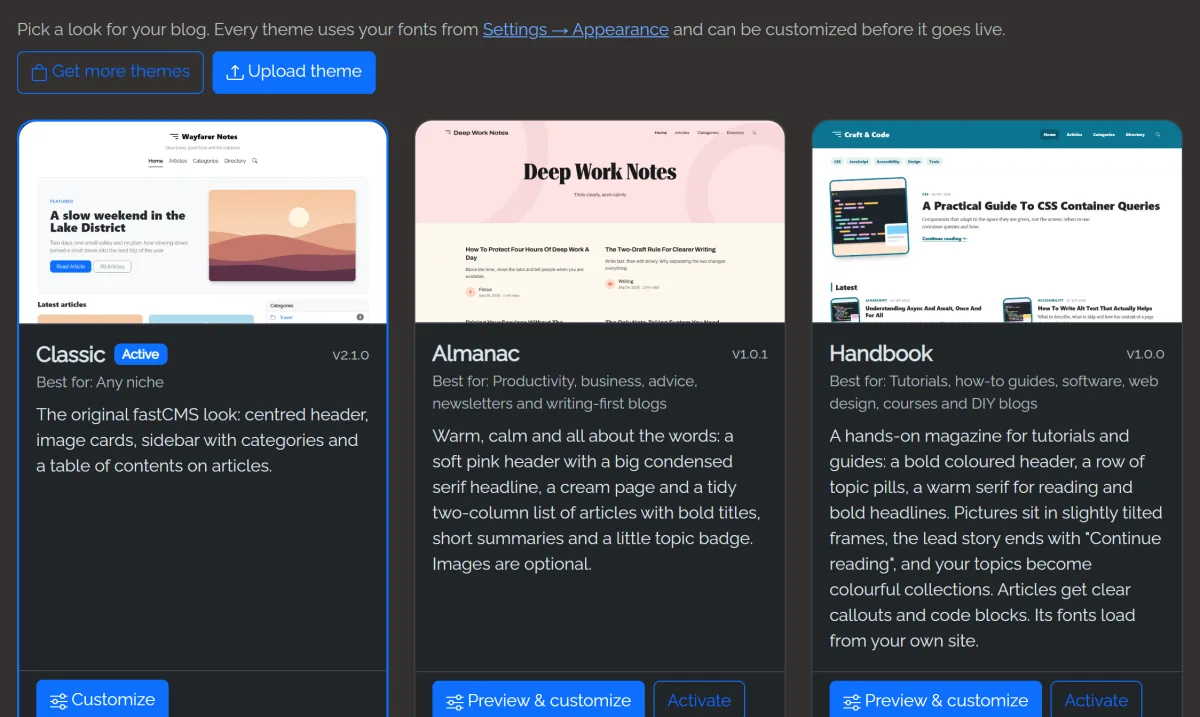
Open Themes, click Preview & customize on any theme, try your own colours, then activate it. You can switch themes any time; your content stays the same.
4. Find your niche and plan your first blog
Not sure what to blog about? Open AI Autopilot and choose Help me choose a niche: the Niche Finder scores niche ideas, finds a sub-niche a new blog can win and plans the articles from real Google searches.
Already have a keyword? Choose I already have a keyword and enter it, such as sourdough baking or trail running for beginners. Either way, the AI plans:
- a site description and an image style
- categories
- 10 to 60 articles as a topical map
You review everything, untick what you don't want, pick a publishing pace and click Build my blog. See Building a blog with AI Autopilot.
5. Keep it running (optional but recommended)
Articles are written in the background. That works while an admin page is open; add one cron job so it keeps going when you close the browser. See Background jobs.
6. Grow it
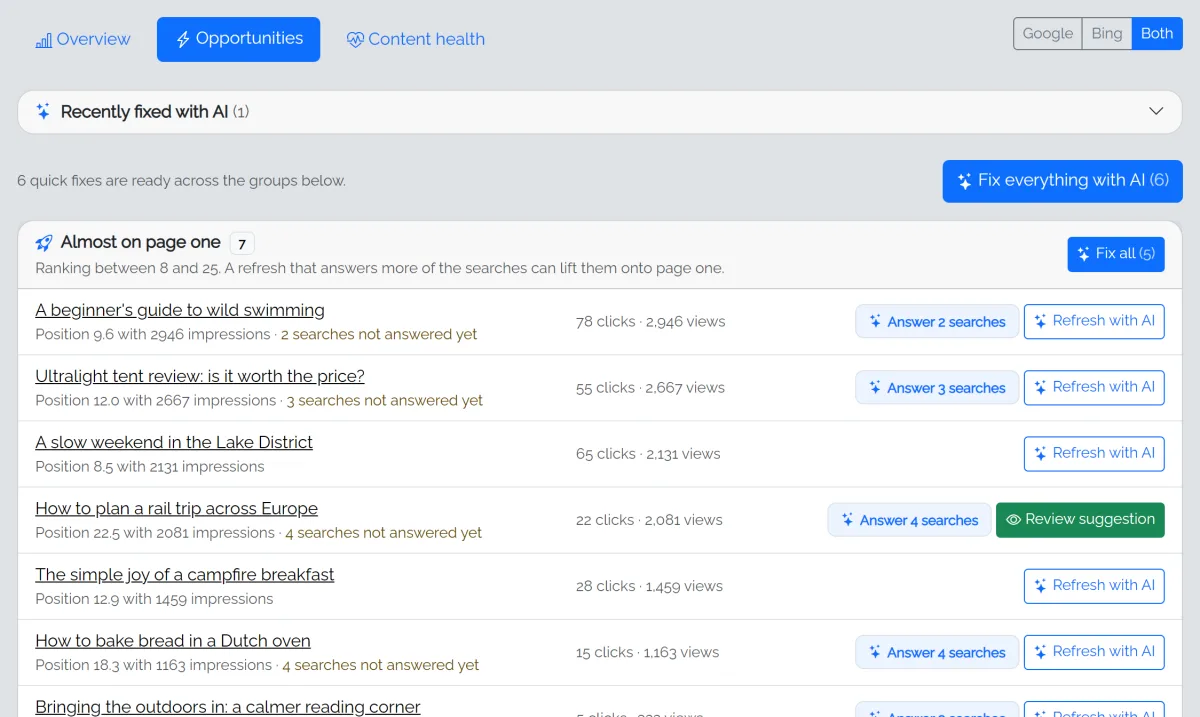
Once Google starts sending visitors, connect Search Console on the Growth page. It shows which articles are close to page one and can refresh them with AI.
Stuck? Troubleshooting covers the most common problems.